Drawing a Zone
Adding Zones to your floor plan helps highlight different areas for example "New Product Zone".
Zones give an opportunity to add more colour to a floor plan and you can also calculate stand figures that are within a Zone.
-
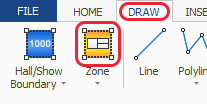
Click the 'Draw Zone' button (top part of button) which is located on the DRAW ribbon.
TIP: You can also initiate this function by using the default Hot Key ' Z '
-
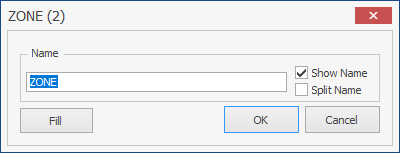
A box will now pop up (see picture below).
Type in the name of the Zone in the 'Name' box and tick 'Show Name' if you want this name to be shown on the floorplan. Tick 'Split Name' if you want a multiple word name split onto separate lines, this can help with the text positioning. Go to Step 3 for the Fill/Shading options.
TIP: If you draw 2 or more Zones with exactly the same name, you can amalgamate the square meterage of these. You can edit this setting in Exhibition Properties.
-
If you want the zone shaded click on the "Fill" button shown in the box above, the following box will appear with various options.
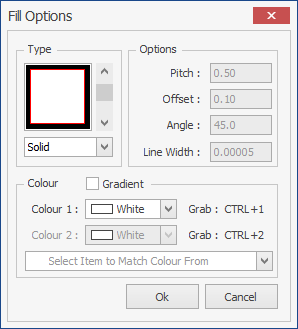
Type:
This allows you to choose how the Zone is shaded. The most common is Solid but you can also use Single, Double or Cross hatch lines.
Options:
- Pitch: This is only available when Single, Double or Cross hatch type is selected and specifies how large the gap is inbetween each hatch line.
- Offset: This is only available when the Double hatch line type is selected and specifies the gap between the 2 hatch lines.
- Angle: This is available when Solid (with Gradient ticked) or Single, Double or Cross hatch type is selected. For hatch types it lets you specify the angle of the hatch lines. For Solid with the Gradient option ticked it allows you to specify the angle of the gradient.
- Line Width: This is only available when Single, Double or Cross hatch type is selected and specifies the thickness of each hatch line.
Colour:
- Gradient (tick box): This is only available when Solid type is selected. Tick this to allow you to choose 2 colours.
- Colour 1: This is available when Solid, Single, Double or Cross hatch type is selected. Choose a colour from the drop down box or move your mouse over something on your screen and press CTRL+1 to grab the colour.
- Colour 2: This is only available when Solid type is selected and the Gradient tick box is ticked. This allows you select the 2nd colour of your gradient fill or move your mouse over something on your screen and press CTRL+2 to grab the colour.
- Select Item to Match Colour From (drop down box): If there are colours already used on your floorplan for other Zones or Stands that you want to use on your new Zone, click this box and select as required.
-
Once the above options have been set, click OK. Now all you need to do is start to draw around the edge of the stands that you want within the Zone. When you have drawn all the way around the stands to be in the Zone, just before the last point (your starting point - shown as a little circle) press C on your keyboard to close the boundary.
TIP: If you make a mistake at any point while drawing your Zone, just press U on your keyboard and it will undo your last click, keep pressing U to go back even more steps.
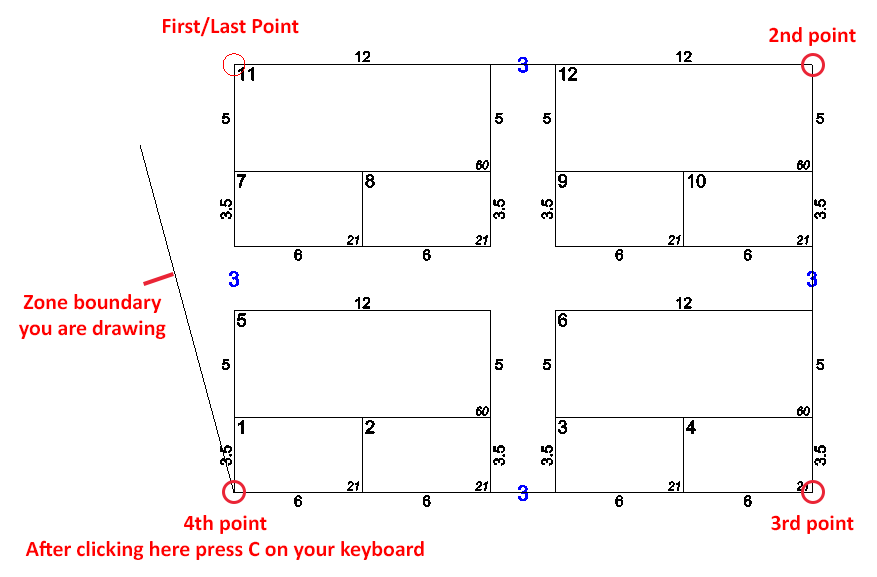
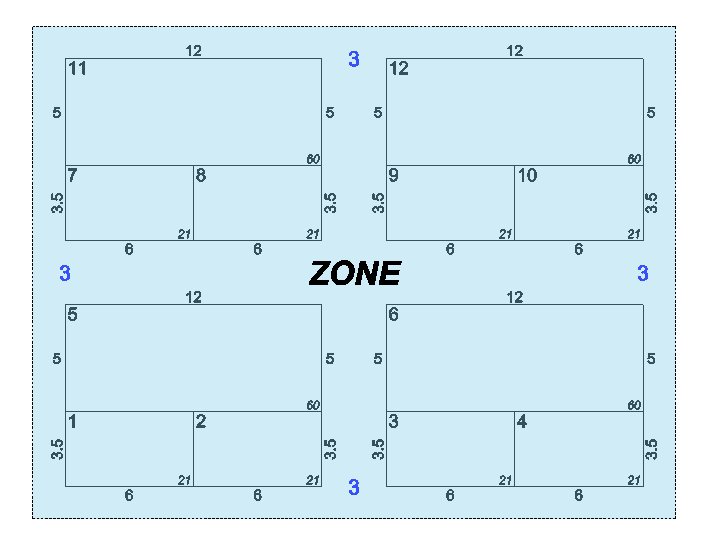
Your Zone should now look like this:
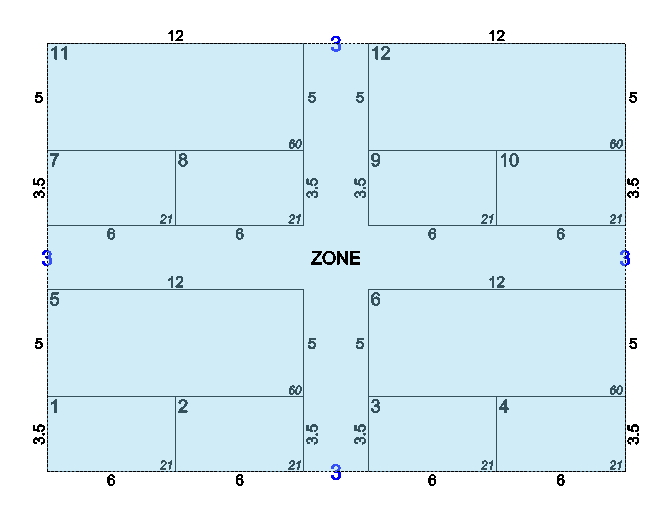
Now all you need to do is select the Zone so that the adjustment nodes appear, then use these to adjust the edges to make it look neater like the below. Then if you select the Zone text you can adjust the text size using the text properties on the ribbon menu. You can also adjust the position of the text by selecting it and then click on the Blue node to move it. For help with Nodes please click here.