Create a Zone Around Selected Stands
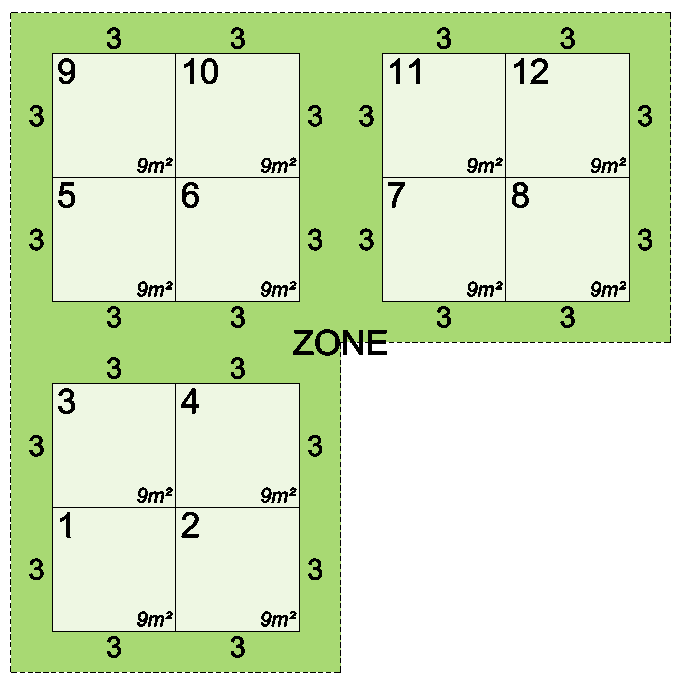
This is the fastest way to create a zone around a single stand or a group of stands.
Note: You can also draw zones manually or create one from an existing Polyline.
Creating a Zone around a group of stands
-
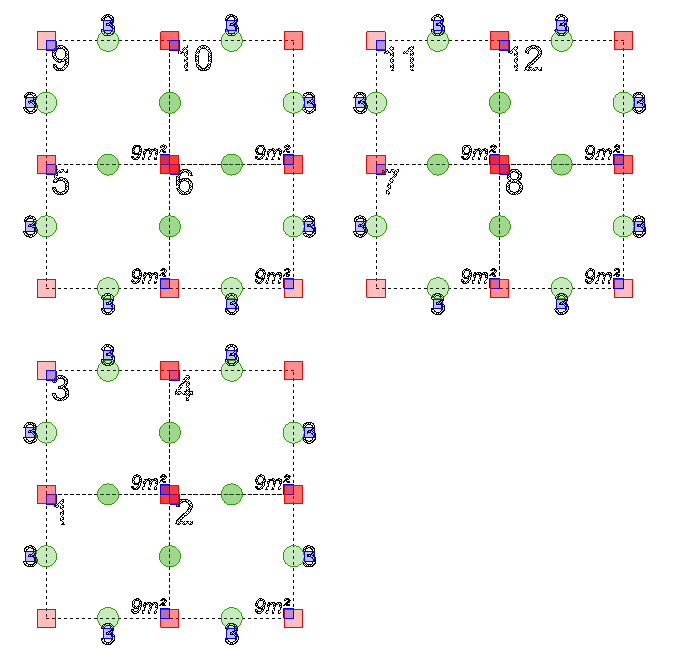
Select the stands you wish to include in the zone.
Tip: To ensure you only select stands and not other elements, press F3 on your keyboard to filter your selection.
-
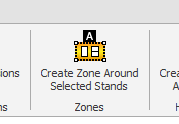
Click the Create Zone Around Selected Stands button on the Ribbon menu at the top.
Note: This button will only appear if you have stands selected.
-
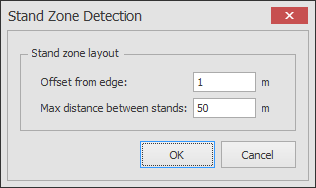
Before the zone is finalized, configure the following boundary settings:
- Offset from edge: Determines the distance between the stand edge and the zone edge (e.g., a setting of 1 offsets the zone by 1m).
- Max distance between stands: The maximum gap allowed between stands to keep them within the same zone.
- Disclaimer: For complex shapes, the automatic creator may require some manual fine-tuning afterward.
-
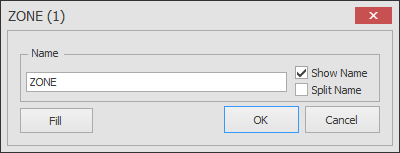
Once the Zone properties appear, configure your settings as follows:
- Name: Enter the Zone's title in the 'Name' field.
- Show Name: Check this box to display the name directly on the floorplan.
- Split Name: Check this box to wrap multi-word names onto separate lines. This is useful for optimizing text positioning within tight spaces.
Next Step: Proceed to Step 5 to configure Fill/Shading options.
Pro Tip: Amalgamating Zones
If you create multiple Zones with the exact same name, you can consolidate their total area.
- The Benefit: When running a report, the square meterage (SQM) for these identical zones will be combined into a single figure.
- How to Enable: You can toggle this behavior within the Exhibition Properties menu.
-
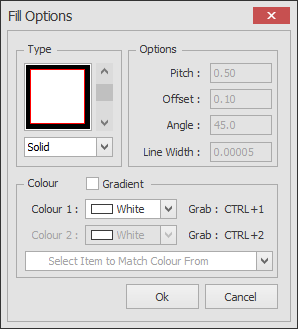
Click the Fill button to customize the appearance:
1. Shading Type
- Type: Choose Solid (flat/gradient), Single, Double, or Cross (hatch patterns).
2. Pattern Options
- Pitch: (Hatch only) Adjusts the spacing between lines.
- Offset: (Double hatch only) Sets the distance between parallel lines.
- Angle: Adjusts the rotation of hatch lines or the direction of a gradient.
- Line Width: (Hatch only) Sets the thickness of the lines.
3. Colour Settings
- Gradient: (Solid only) Check this box to blend two colours.
- Colour 1: The primary colour. (Hover & press CTRL+1 to "grab" a colour from your screen).
- Colour 2: (Gradient only) The secondary colour. (Hover & press CTRL+2 to "grab").
- Select Item to Match: Quickly pick a colour already used by another Zone or Stand.
-
Your zone will now appear on the floorplan. From here, you can fine-tune the placement and appearance:
- Adjust Size & Shape: Click and drag the zone's perimeter handles to reshape the area.
- Reposition the Name: If the zone name is overlapping other elements, simply click and drag the text to a new position.
Need more help? For additional tips on managing your layout, refer to the Zones section in the Help Items list.