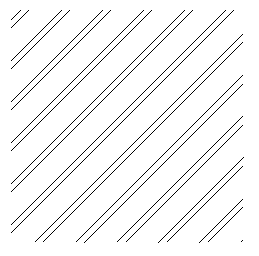
Basic Hatching
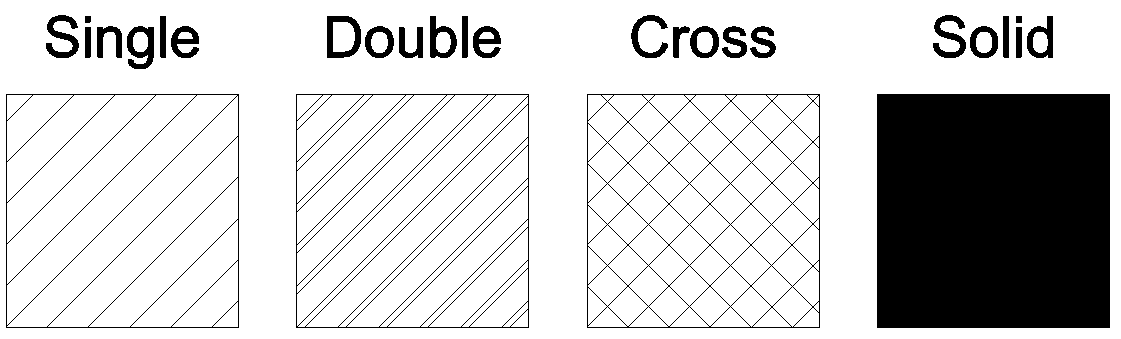
This function allows you to create basic hatches which includes Single, Double, Cross and Solid hatches.
There are 2 ways to draw the hatching, you can either just draw around the area you want hatched, or the prefered method is to select a polyline boundary and hatch inside it.
To draw a Hatch inside a boundary, go to Option 1
To draw a Hatch without a boundary, go to Option 2
OPTION 1 - Creating a basic Hatch inside a boundary
-
If you haven't already, draw your boundary as a Polyline. (If you need help with this, please follow these instructions before proceeding).
We recommend creating a dedicated layer for your Polyline and Hatching, or selecting an existing one. For help managing layers, search for "Layers" on our Help Center.
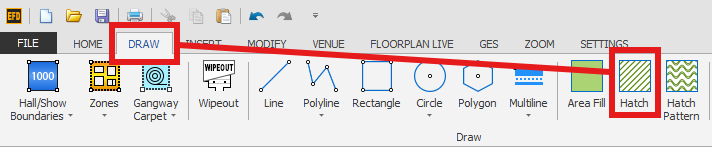
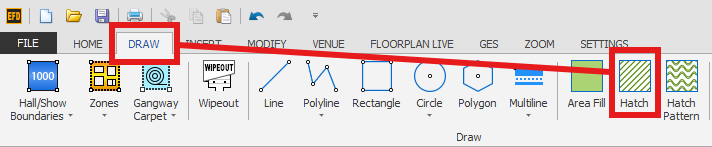
Select your completed Polyline, then go to the DRAW menu and click Hatch.
-
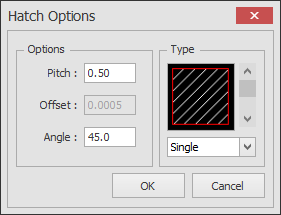
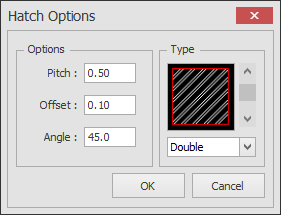
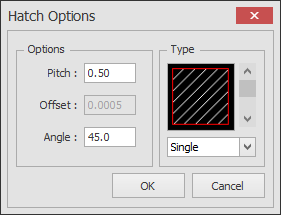
The following dialog will appear containing the Hatch settings.
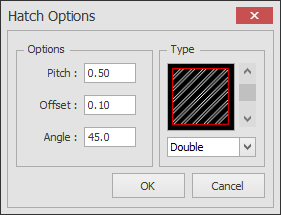
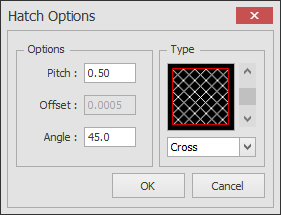
You will need to experiment with the Pitch, Offset and Angle to achieve your desired result, but we recomend using the settings shown below as a starting point.
IMPORTANT: Make sure the Pitch is not too small otherwise this will create a very dense hatching which will slow your drawing down.
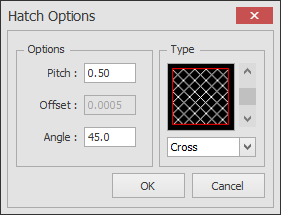
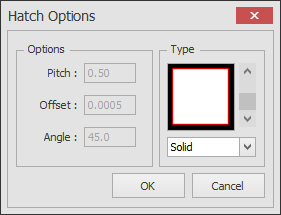
You can change the Hatch type using the selector on the right. There are 4 types of Hatching and each has there own settings apart from Solid which has none.
- Single
- Double
- Cross
- Solid
Once you have selected the hatching you want (in this example I have selected Double), click OK and go to the next step.
-
You now have to select a point on the boundary for the Hatch pattern to start from, you can click anywhere such as the corner.
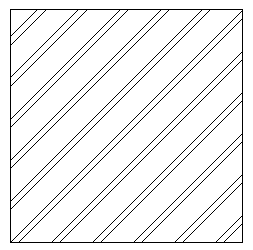
Your hatch will now be created.
OPTION 2 - Creating a basic Hatch without boundary
-
Click on the DRAW menu, then Hatch.
-
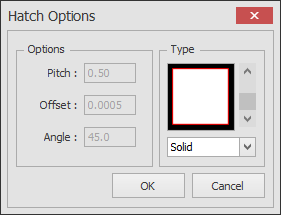
The following dialog will appear containing the Hatch settings.
You will need to experiment with the Pitch, Offset and Angle to achieve your desired result, but we recomend using the settings shown below as a starting point. Make sure the Pitch is not too small otherwise this will create a very dense hatching which will slow your drawing down.
You can change the Hatch type using the selector on the right. There are 4 types of Hatching - Single, Double, Cross and Solid. Each Hatch has their own settings apart from Solid which does not have any settings.
Once you have selected the hatching you want, click OK and go to the next step.
-
Now start drawing around the area where you want the hatch, then before you click the last point, press "C" on your keyboard to close the loop. After pressing C, your hatch will be created as shown below.