The 'Symbols Panel' is a quick way of inserting Symbols you use on a regular basis.
IMPORTANT NOTE: Symbols that have been edited outside of your floorplan will not automatically update when inserting them using the Symbols Panel, it just uses the symbol that already exists on your floorplan. To insert an updated symbol you will need to use the 'Insert Symbol' function.
Setting up the Symbols Panel
-
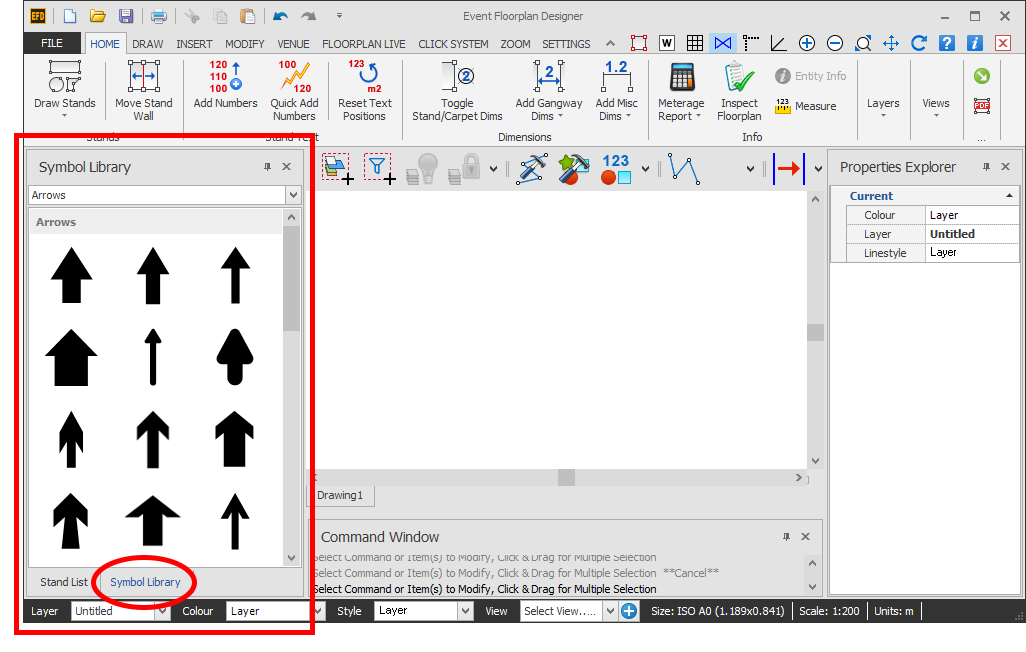
As a default, the Symbols Panel is located on the left of your screen as shown below. To access it click on Symbol Library at the bottom of the panel.
If your Symbols Panel is not there or you if you have moved it somewhere by accident, you can switch it on by going to SETTINGS > Symbols > 'tick', or you can click the Reset Layout button, see 2nd image below.

-
When the Symbols Panel is visible you should see some basic symbols that are included with EFD.
You can download a additional symbols from here.
NOTE: Some symbol categories, such as Venue Symbols (Style 1 Square and Circular), Arrows, Arrows - Entrances and Exits, Stars, Safety Symbols, Services and Octanorm Components, aren't included with EFD. Download them first from the Symbols page, then extract the ZIP file into your Symbol Library folder (by default C:\ProgramData\Event Floorplan Designer V5\Symbol Libraries). Only then will they appear in the Symbols Panel. -
You don't need to choose a layer before inserting a symbol. Symbols are automatically placed on the layer '_Symbols Master Layer'.
If you want a symbol on a different layer afterwards, you can move it onto another layer, see Move Entities onto Layers.
-
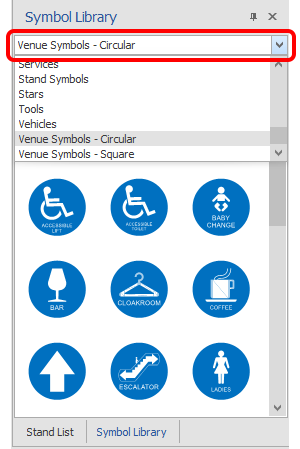
To use the Symbols Panel, click on the Symbols Category from the drop down box at the top of the panel to find the symbol you want to insert, see image below.
-
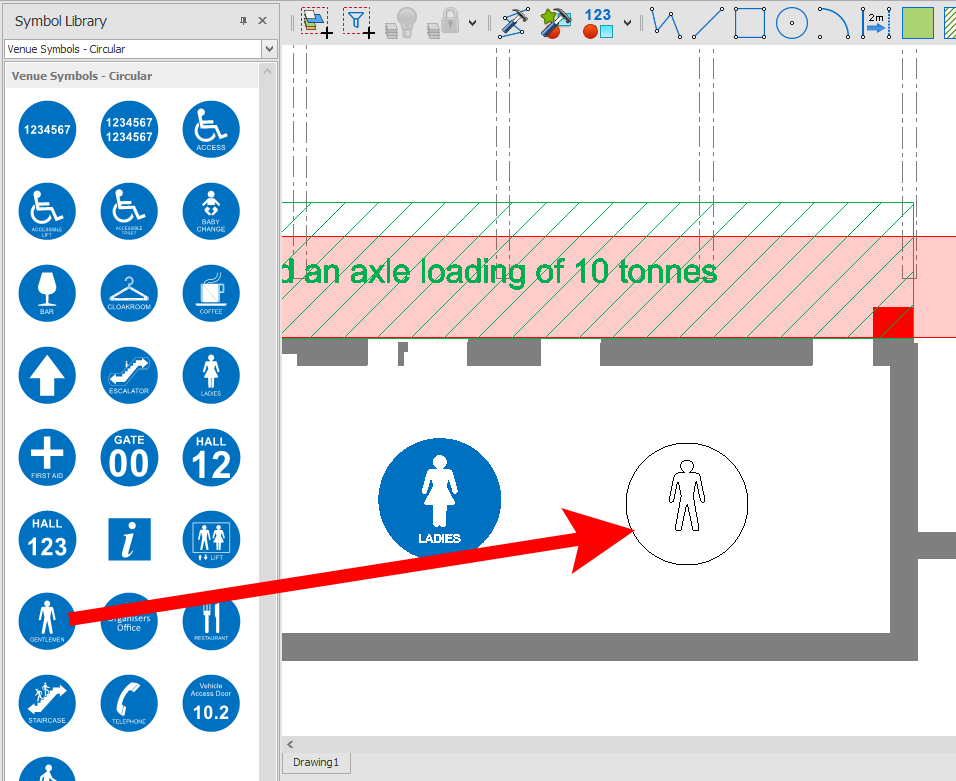
Click on the symbol you want (don't click and drag) then move your mouse and click where you want to place the symbol on your floorplan.
You now need to set the rotation of the symbol by moving your mouse around in circles. If your symbol is rotating freely and you want to keep it straight, press and hold Shift on your keyboard, your mouse will then be locked at 45 degree increments, now just click your mouse when you are happy with the rotation.
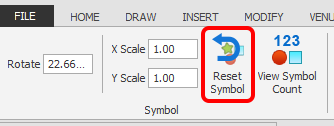
NOTE: If you got the rotation wrong or if the size does not look correct, select the symbol and then click on 'Reset Symbol' on the menu that appears at the top of your screen as shown in the 2nd image below.
You can also rotate symbols in 45 degree increments after inserting them by selecting them and then pressing + or - on your keyboard.
IMPORTANT NOTE: Symbols that have been edited outside of your floorplan will not automatically update when inserting them using the Symbols Panel, it just uses the symbol that already exists on your floorplan. To insert an updated symbol you will need to use the 'Insert Symbol' function which you can get help with here.